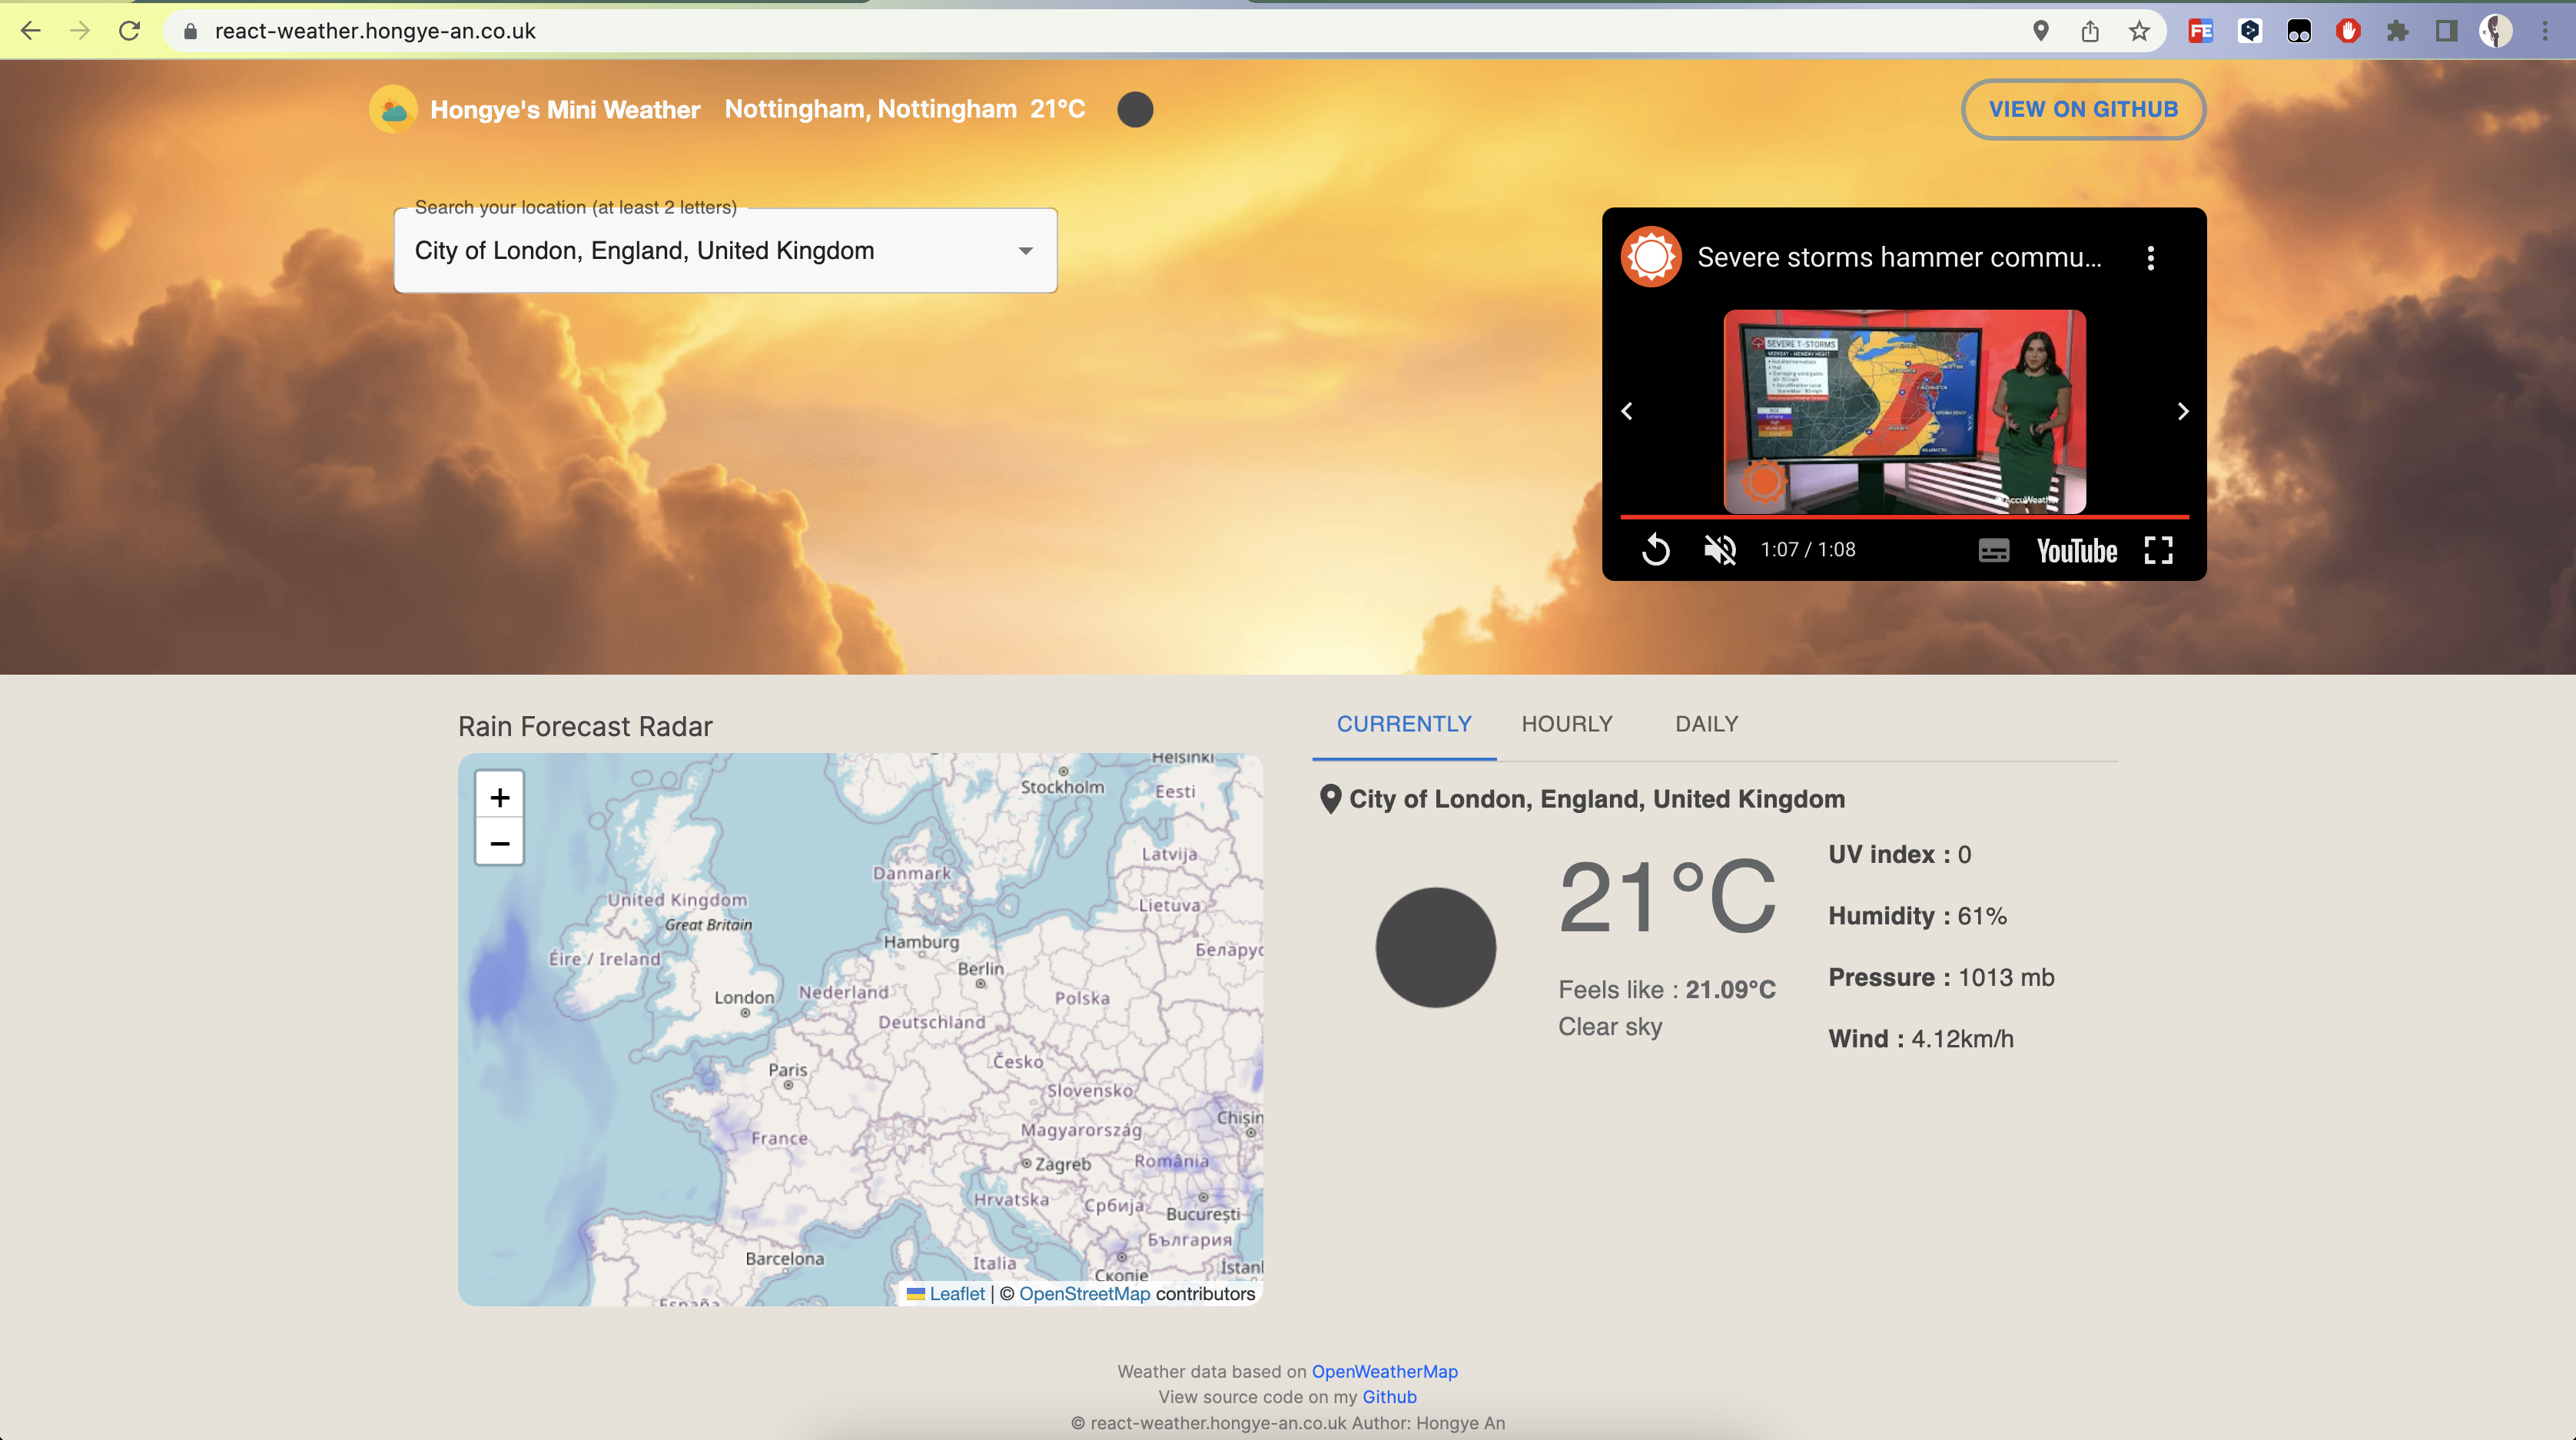
Welcome back! Now that we have completed the setup of our development environment, we can dive into coding for our mini weather web app. The app’s layout is inspired by a renowned weather forecasting company called AccuWeather. Once we’re done with the coding phase, our weather app will resemble the following image. As we can see, this webpage incorporates essential features that a weather app should have, including the ability to search city weather by keyword, a rainfall forecast radar, automatic location detection, and more.
In this section, we will explore the process of fetching weather data. Numerous third-party weather data service providers are available, but for our project, we will utilize the OpenWeatherData API to retrieve the required weather data. OpenWeatherData offers a comprehensive global weather data API that we could seamlessly integrates with our applications.
To get started, visit https://home.openweathermap.org/users/sign_up and create your personal account. Once you have completed the registration process, you can access all the APIs by visiting https://openweathermap.org/api.
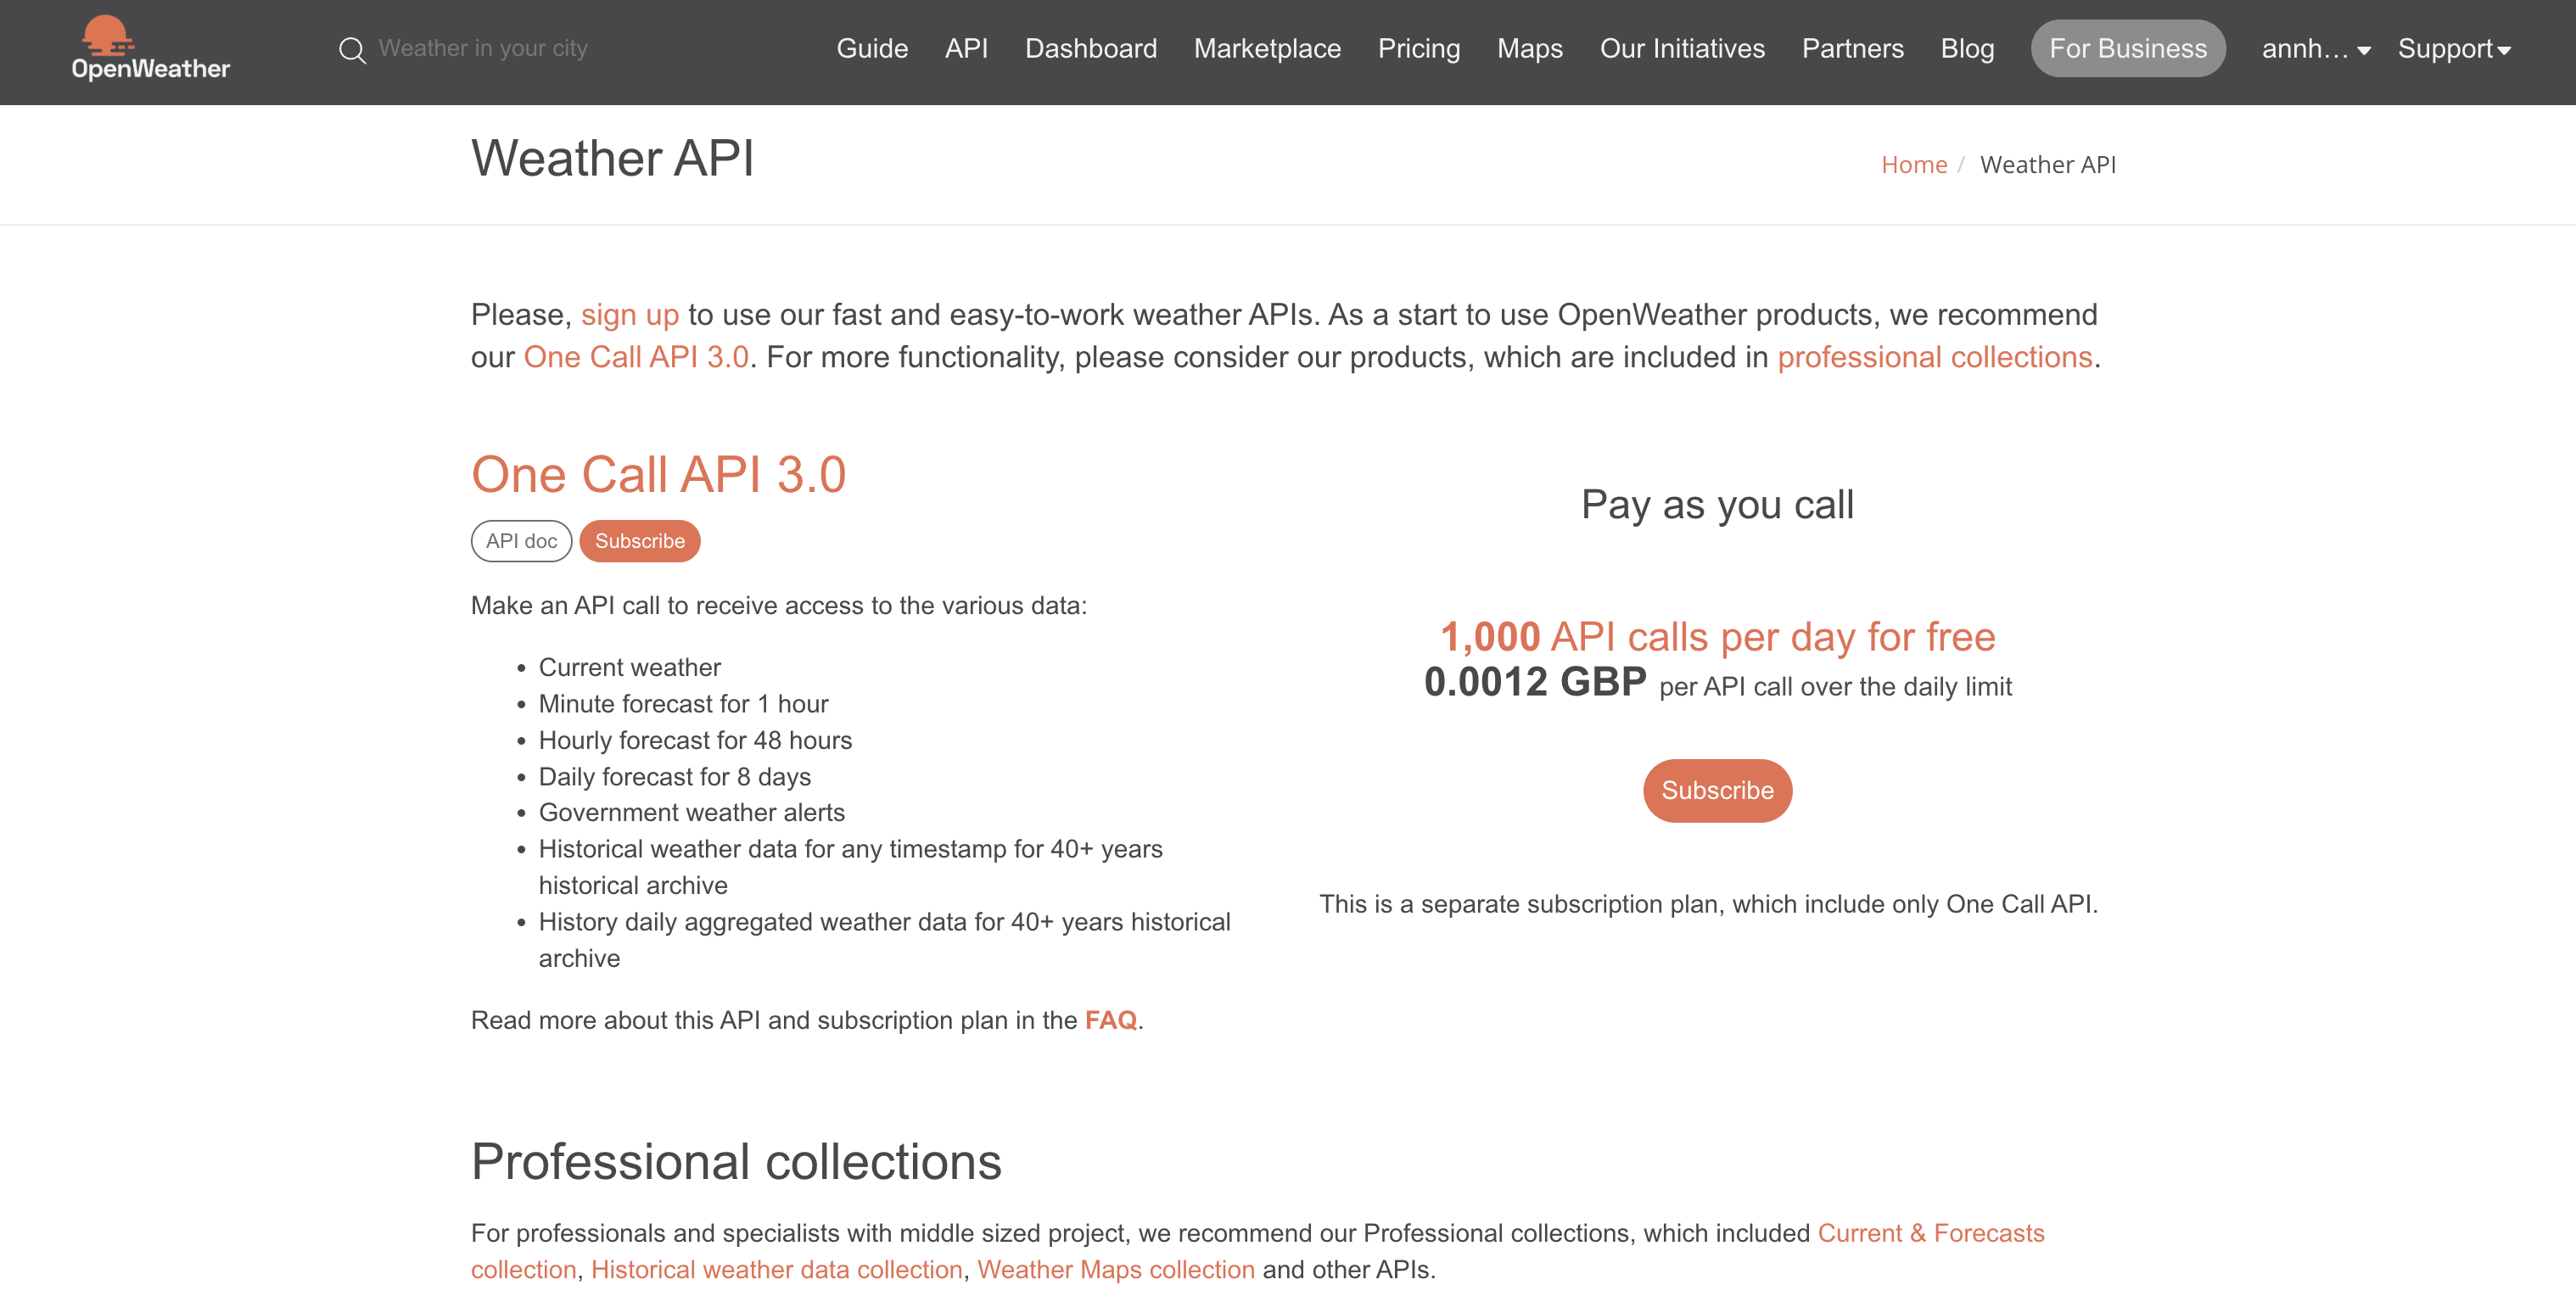
We can subscribe “One Call API 3.0”. It’s free for 1,000 queries per day, and it provide enough data to complete this web app. And as for city search, we could use Geocoding API (https://openweathermap.org/api/geocoding-api) to implement city search feature.
In the code, we could use axios to send a HTTP request, which is a famours Javascript library to help us make HTTP reqeust more easier. And we could wrap our http request code.
1 | // api.js |
As shown in the above code, we encapsulate the necessary code and set the API Key, host and some custom settings within it. To initiate an HTTP request, simply use the following code snippet:
1 | apis |
View full code base of the weather app via my github: react-weather