In this section, we will discuss the implementation of the city search input text area and how to trigger the fetching of city data as we type into the text area.

When it comes to the input area, we have the option to create a simple input box using vanilla HTML/CSS/JavaScript. However, utilizing third-party UI libraries can offer a more convenient solution with user-friendly APIs. An excellent choice for us is MUI, which integrates numerous components to assist in building an appealing and interactive UI. To add MUI dependencies, we can use npm and execute the following command:
1 | npm install @mui/material @emotion/react @emotion/styled |
Once the above dependencies are added, we can explore the suitable component for our scenario, such as the Autocomplete component. Consequently, our text input component will resemble the following:
1 | import TextField from '@mui/material/TextField'; |
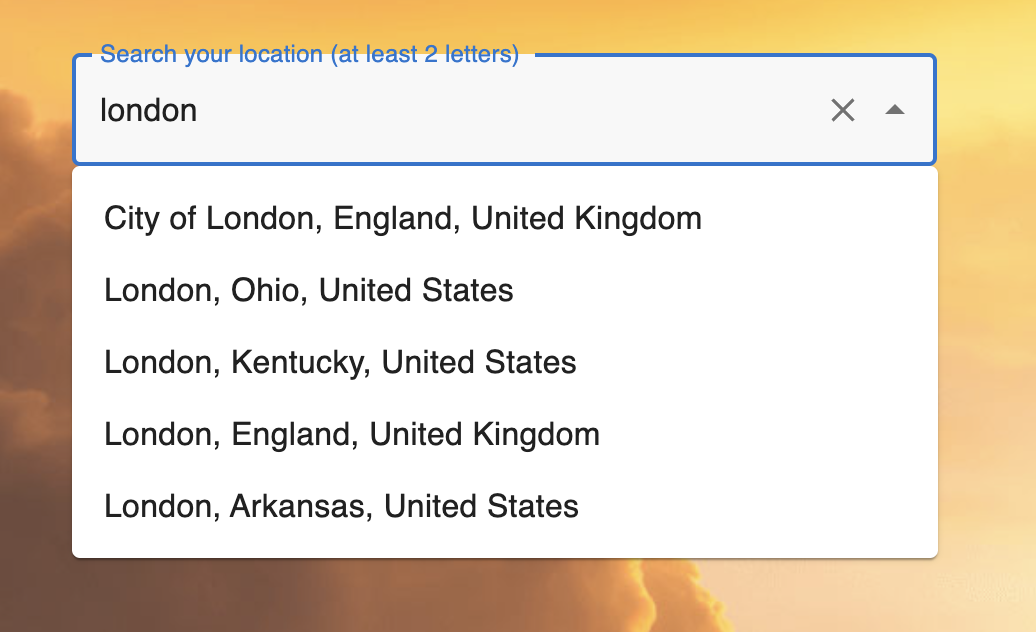
In this snippet of code, we create a React component named SearchInput, and this componenct was based on MUI Autocomplete component, we only need to refer to the MUI document and rewrite some essential props provided by MUI or styling it to achieve our desired functionality.
Lastly, there is one more important aspect I would like to address in this post. In the provided example, we pass a fetchData function to the onInputChange prop. This means that whenever the text area changes, the function will be triggered, fetching the city list data from the server. However, in this scenario, if we attempt to search for the weather in London and type the word “London,” it triggers the onInputChange event six times. Essentially, for each letter we type, the onInputChange event is called separately (e.g., “L”, “O”, “N”, “D”, “O”, “N”).
This results in multiple API calls, potentially putting a significant burden on the server. To mitigate this, we can implement a debounce function that allows us to call the server only once after a certain interval, once we have finished typing the entire word. This approach helps alleviate the strain on the server and improves the efficiency of our application.
1 | const debounce = (func, delay) => { |
The above code demonstrates a simple debounce function in vanilla JavaScript. It accepts two parameters: a callback function and a delay time in milliseconds. To apply the debounce functionality, we can modify our existing code as follows:
1 | onInputChange={ |
By wrapping the loadOptions function with the debounce function, we ensure that the function will be invoked only after a specified delay (in this case, 450 milliseconds) since the last input change. This helps reduce the number of API calls and alleviates the potential server load caused by frequent input changes.
View full code base of the weather app via my github: react-weather